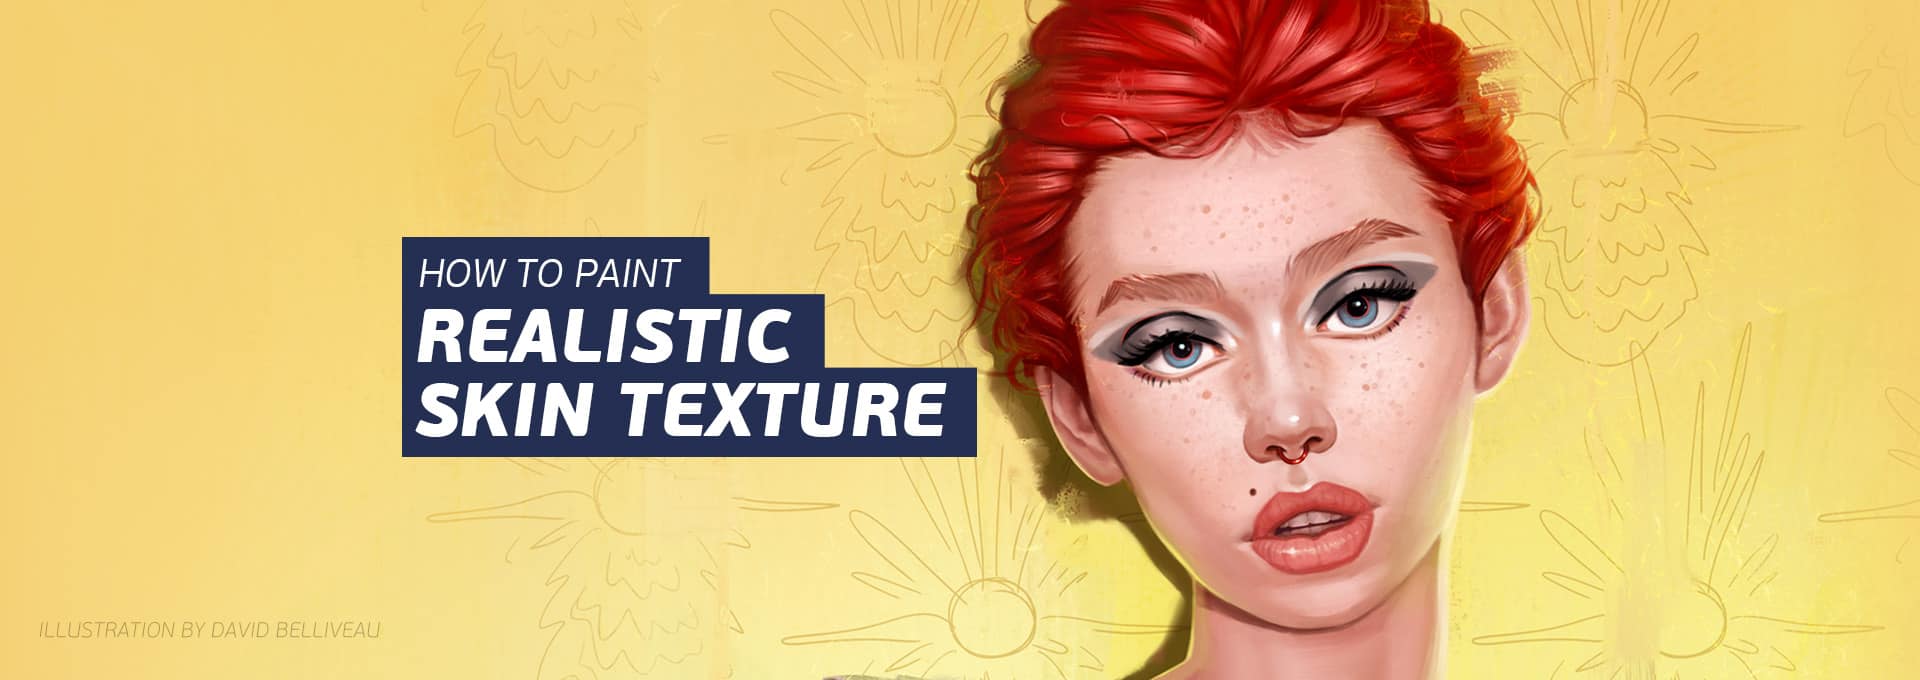
One of the struggles I hear often from digital portrait artists is about rendering the skin realistically. The skin either looks unnaturally smooth or airbrushed with no texture or brushstrokes, or it looks dirty and over-textured. They want to learn how to paint realistic skin texture without spending forever on it!
Skin texture is where tools can really help. Using different size and shaped brushes can make adding pores, freckles, lines, and moles quick and easy. Brushes are so important to this part of my process that I’ve created my own set of Portrait Brushes and I use them every time I paint- and you can download them below if you’d like to try them out yourself!
Watch this video to see how I take my latest portrait from flat and not-quite-finished to perfectly-textured, in 3 simple steps, using the Paintable Brushes.
Ready to try it out yourself? The brushes that I use in this video are part of the Paintable Portrait Brushes that you can download for FREE below.
Let me know how you like them!


4 thoughts on “How to Paint Realistic Skin Texture in 3 Simple Steps”
thanks for all you r tutorials!! they helped me a lot! thanks David 😀
We’re so glad that you’ve found them helpful, Laura! You’re very welcome! 🙂
this tutorial is quite informative.
We’re happy to hear you enjoyed it and found it informative, Memoona! 🙂 Happy painting!